A Beautifully Milled Flour With a Subtle Flavor
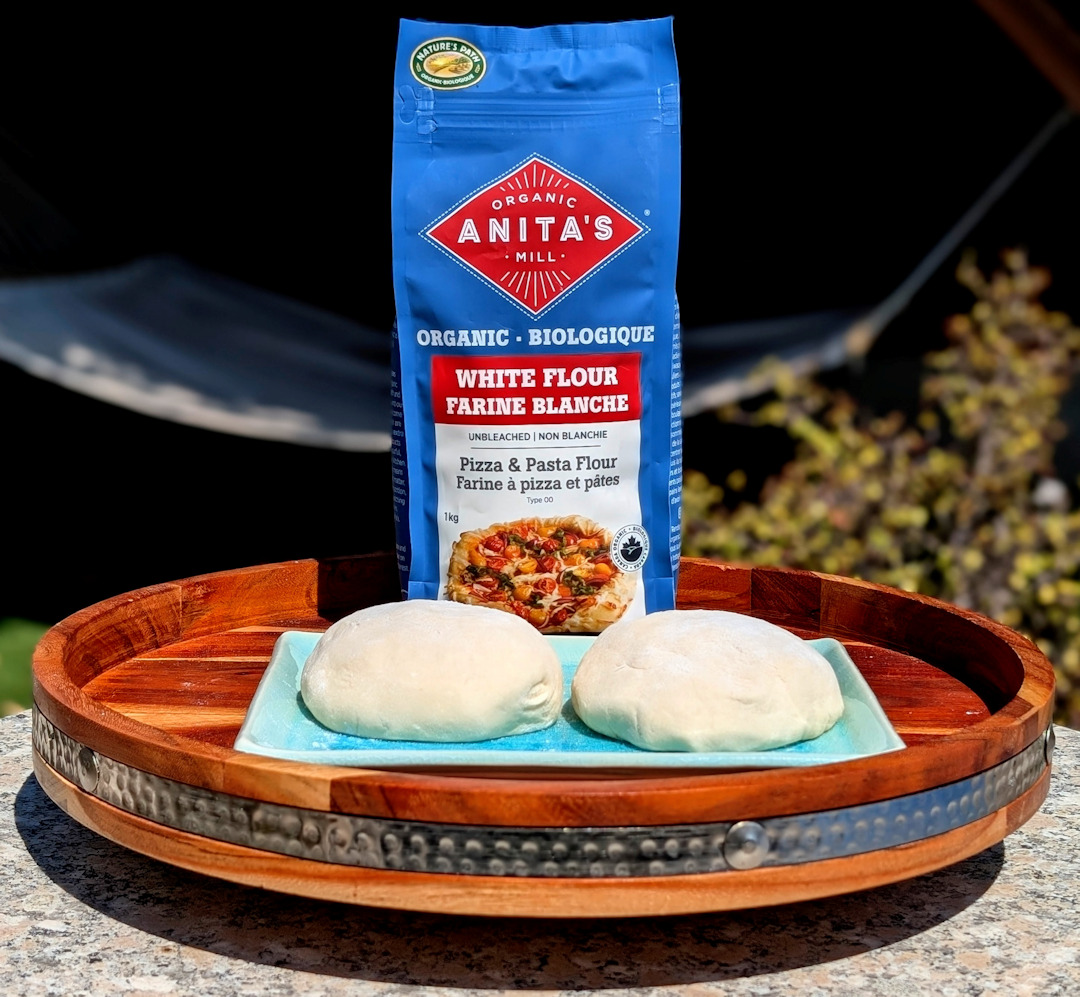
The last time I visited my mom, she handed me a bag of Anita’s Type 00 Pizza and Pasta Flour like it was a family secret. “You have to try this,” she said, knowing full well what a pizza nerd I am. As always, I took it home like a culinary challenge, eager to give it a spin in my own pizza recipes. And while it delivered on texture and elasticity, one thing caught me off guard: the flavor was a little more restrained than I expected. This is one of those flours that performs beautifully but doesn’t shout its presence from the rooftops. And there’s a place for that too!
What Makes Anita’s Type 00 Flour Special?
Anita’s Organic Mill is based in Chilliwack, British Columbia (anyone remember the band of the same name?), and has built a reputation around mindful milling and organic Canadian grains. Their Type 00 pizza and pasta flour is no exception—finely milled, smooth, and perfect for stretching dough without tears or resistance. Think Neapolitan pizza dreams: soft, puffy crusts that blister up nicely in a hot oven.
This flour is enriched (containing niacin, iron, thiamin mononitrate, riboflavin, and folic acid), and while it’s labeled “Type 00” for its ultra-fine texture, it’s not to be confused with Italian imports like Caputo. The milling is local, careful, and low-temperature to preserve as much nutrition as possible from the whole grain.
Performance in the Kitchen
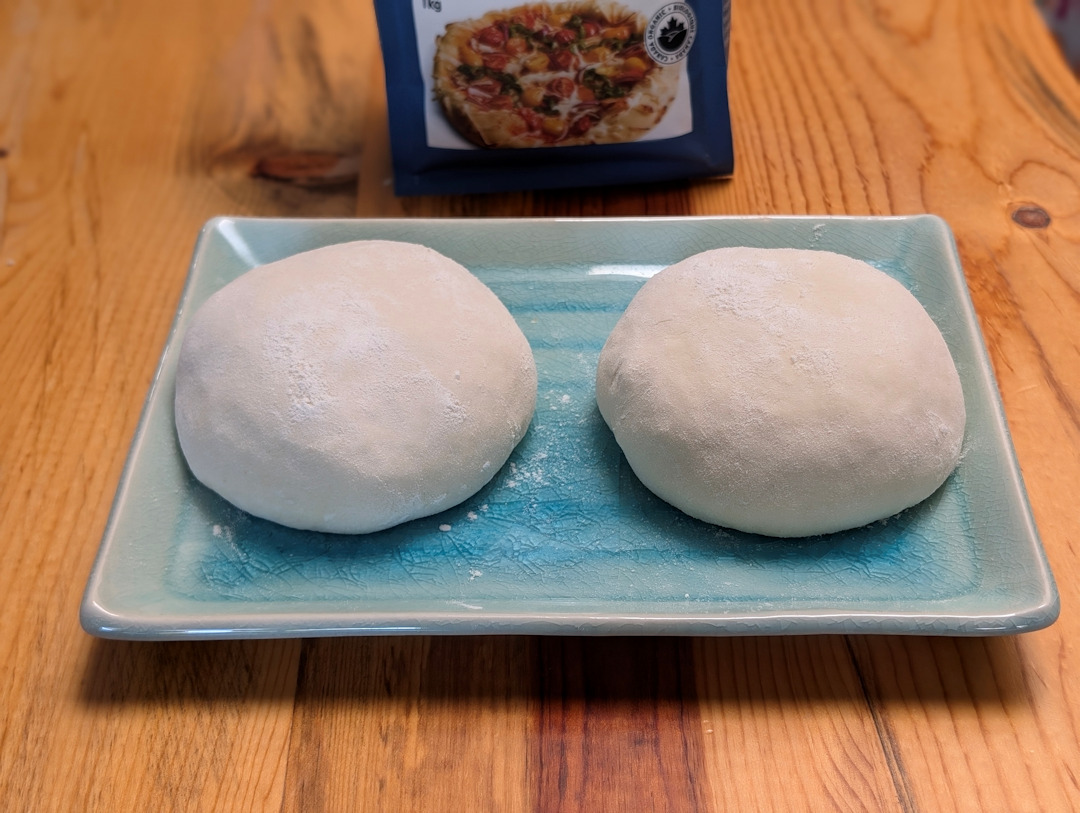
From the moment I mixed the dough, I could feel the smoothness. It came together effortlessly, required minimal kneading, and developed a wonderfully elastic texture – especially when mixing by hand. Shaping Anita’s pizza flour dough balls was a dream—little spring-back, no tearing. I found this to be a great a beginner-friendly flour for anyone nervous about the dough handling part of pizza making.
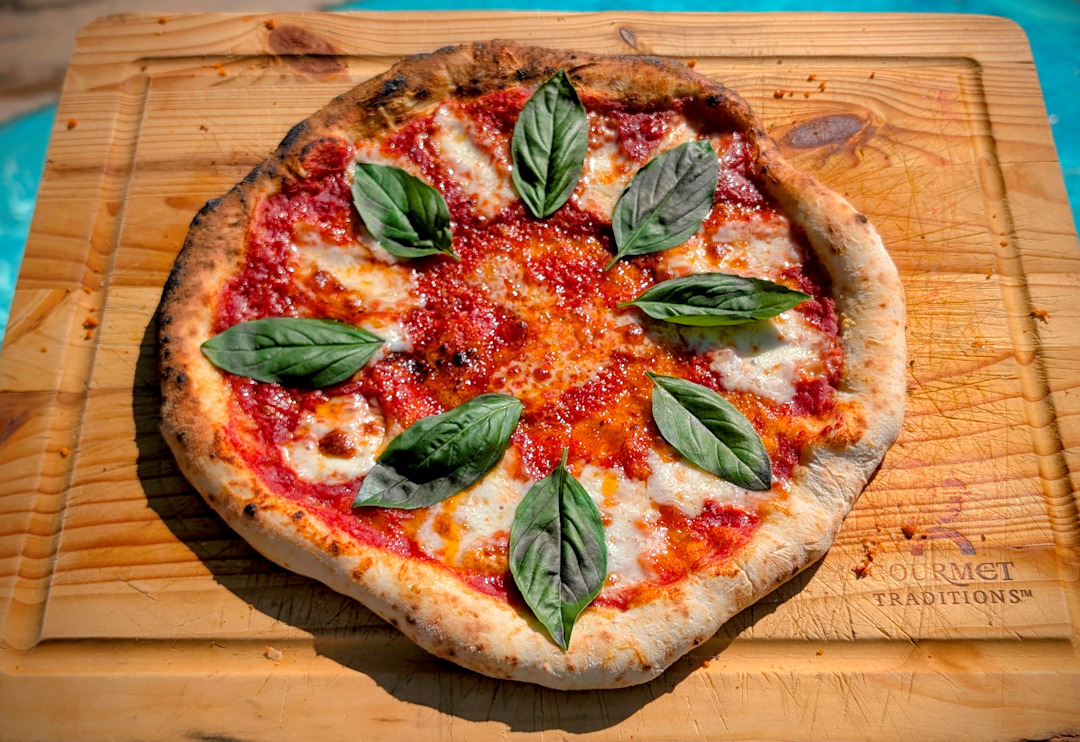
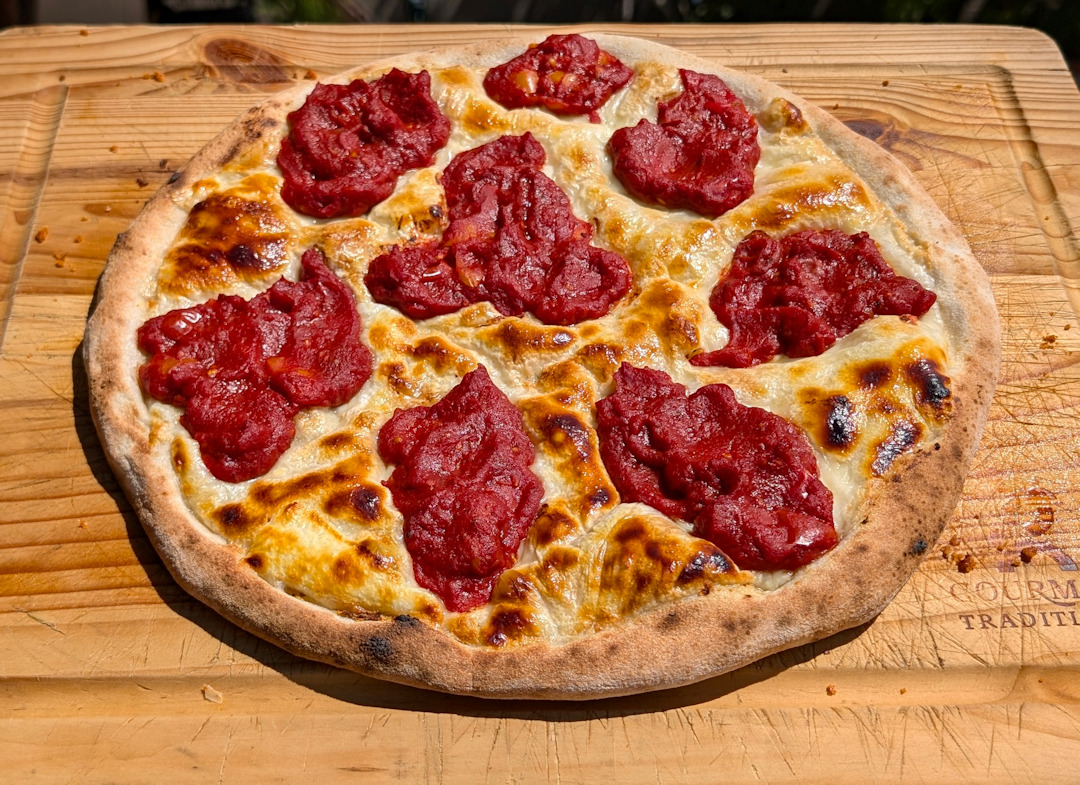
In the oven, it puffed up nicely and baked to a tender, slightly crisp crust with a delicate chew.
However, if you’re the kind of person who wants your pizza crust to carry bold, fermented complexity or deep wheatiness, this flour might fall just a bit short. It’s more of a supportive player than a soloist.
Flavor and Fermentation Notes
I ran it through standard Neapolitan AVPN 24-hour room temperature ferments as well as a cold ferment tests. In both cases, it developed a properly soft interior that cooked well both in the indoor oven as well as in an outdoor oven, but never that tangy, rich depth I sometimes crave. So, if your pizza leans heavily on crust flavor—like a simple pizza bianca with an olive oil “sauce” where the dough is center stage—you might want to blend this with a heartier whole wheat or a malted bread flour.
But if you’re topping your pizza with flavorful ingredients—prosciutto, roasted peppers, bold sauces—Anita’s flour provides a clean canvas that won’t compete with your toppings. In fact, I really liked this dough for making Trenton’s own New Jersey style pizza – with mustard and all!
I should also note that after longer fermentation times, the dough didn’t seem to be as structurally sound as a high protein/high gluten alternative.
The Backstory: What’s in the Bag?
What sets Anita’s apart is their commitment to transparency and craft. The grain is all Canadian and 100% organic, sourced from trusted farms using regenerative methods like crop rotation and no synthetic chemicals. Once it arrives at the Chilliwack mill, it’s gently milled at low temperatures using stone mills, hammer mills, or steel cutters. The result is a flour that holds onto more of its nutritional value—and maybe a little of the soul of the farm, too.
They also operate a bakery just down the path from the mill—Anita’s Bread & Coffee—where they test every flour themselves (road trip!). There’s something comforting about knowing the same flour you’re using has been trialed and approved in a working kitchen.
Final Thoughts
Anita’s Type 00 pizza and pasta flour is a gem for anyone looking for a Canadian-milled, organic option that’s easy to work with and versatile. While it doesn’t deliver fireworks in the flavor department, it shines when paired with bolder ingredients and performs beautifully in the oven.
If you’re aiming for delicate Neapolitan-style crusts at home and want to keep things organic and local (especially if you’re in Canada), this flour deserves a spot on your shelf.
Thanks to my mom for sharing her love of this flour!


Anita’s Type 00 Pizza Flour Neapolitan Pizza Recipe
Equipment
- 1 Stand Mixer (Optional)
- 1 Outdoor pizza oven AVPN says wood-burning is required, but use what you've got!
Ingredients
- 2.5 Cups 00 Pizza Flour Anita's Type '00' Pizza and Pasta Flour (White, unbleached)
- 7 Ounces Water Filtered or bottled drinking water preferred. Do not use reverse osmosis purified water.
- 1 Tsp Sea salt fine is best
- 0.01 Ounces Dry yeast (1/2 of 1/8 Teaspoons)
Instructions
- Pour the water into the mixing bowl of a stand mixer. Pour the salt into the water and whisk (or stir) until the salt is dissolved.Add about 1/2 cup of flour into the water.7 Ounces Water, 1 Tsp Sea salt, 2.5 Cups 00 Pizza Flour
- Start your stand mixer using the hook attachment on its slowest setting.
- Add the yeast to the water.0.01 Ounces Dry yeast

- Slowly add more flour. Not all flour hydrates the same, so it may be that you'll need a little less or a little more flour.
- If you don't have a stand mixer, you can do this all by hand. Dissolve the salt in the water.Make a "volcano" of all of the flour and pour the salt water into the middle. Slowly move and mix the "volcano" walls into the water. Add the yeast into the paste of flour and water before kneading.


Checking the Dough
- The dough will form into a single compact ball.· When this happens, stop the mixer and check the texture. · Dust your hands with flour and pull the dough off of the hook. · Knead the dough in your hands. · The texture and moistness should be consistent throughout. If it is not, return it to the mixer and check again. · The dough should be slightly tacky and smooth but should not be leaving much sticking to your hands. If it is, return it to the mixer and continue adding flour – slowly. · The final dough ball should be "fat" in appearance and sticky, soft, elastic. It might not be perfectly smooth to the touch yet.
First Fermentation
- Place the dough on a clean surface and cover with a damp cloth for one hour. The damp cloth is important to keep the outer surface from drying out.

Second Fermentation
- Remove the damp cloth and separate the dough into two balls of equal size (this recipe will make two dough balls approximately 9 ounces – which should make about a 11" to 12" pizza).
- Work the two halves into balls (the traditional technique is to shape them the same way Italians prepare fresh mozzarella balls).
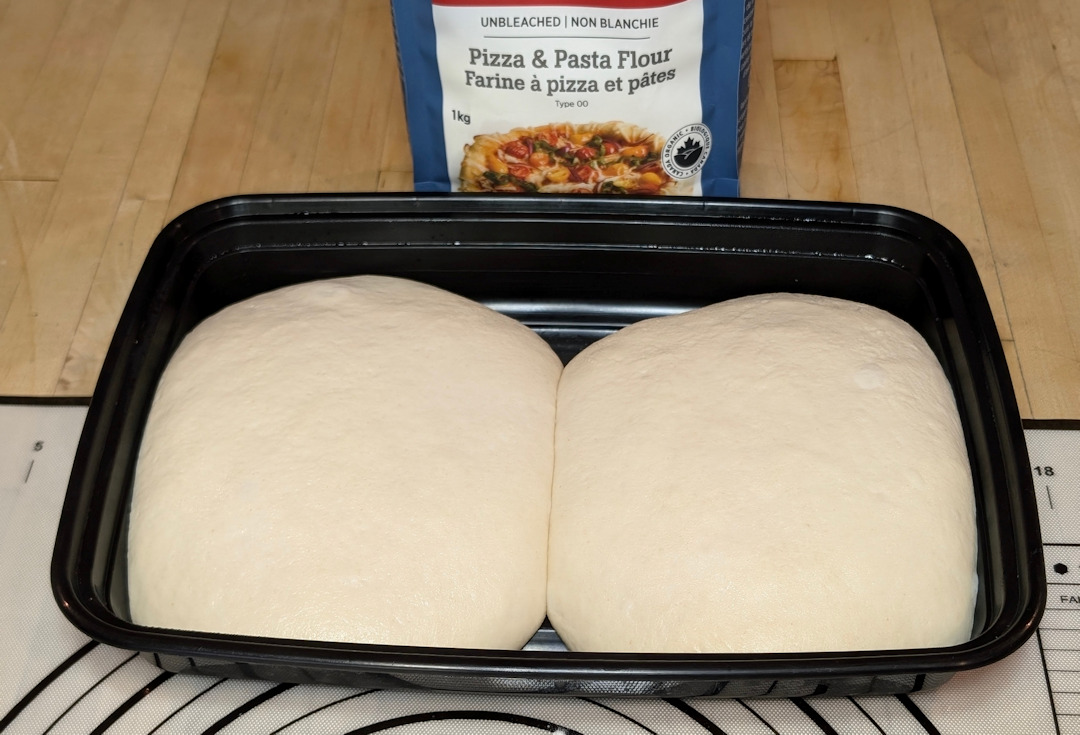
- Place the two balls into one or two sealed containers – the dough balls will double in size, so make sure they have enough room.
- Let the dough rest for 24 hours at room temperature OR 1 hour at room temperature and then 48 hours in the refrigerator.
Stretching the Dough
- After the second fermentation, the dough will have become extensible (meaning you can stretch it) but not very elastic.
- Put 1 tablespoon of flour on your work surface
- Remove one dough ball from its container onto the floured work surface.
- Stretch the dough by hand from the center to the edge. Create a round shape but ensure that the edge of the crust is about 0.5" tall and 0.5" to 1" wide and the rest of the crust is very thin (less than two pennies, if you can).(If needed, add more flour to the work surface so the pizza does not stick, but do not use more than you need)
- With this recipe (which makes two 9 ounce pizza dough balls), you should be able to make up to a 12" pizza.
- Put 1 tablespoon of flour on your pizza peel and rub it into the wood (so the dough will not stick when launched into the oven).
- Transfer your dough to the pizza peel.
- You will want to quickly apply your toppings and get the pizza into the oven before the dough sticks to the peel. Start with the sauce.
- Fresh sliced mozzarella is always the best on a Neapolitan pizza, but you can use shredded. A bit of grated parmesan is also a nice addition!
- We also had some lovely pancetta left over from a previous pizza, so we used the last of it up here!
- Launch the pizza into the oven on the hottest part of the stone without being in the flames.
- Rotate the pizza one quarter turn every 30 seconds. Generally, the pizza will be done in 3 minutes or less. So watch it closely!
- Remove the pizza from the oven and let it rest for about 3 minutes.
- Cut and serve immediately.


Notes
- If you are going to cook this in a conventional oven, you’ll want the highest temperature you can get the oven to.
- If you have a pizza stone (or pizza steel), that’s going to help a lot in getting the most authentic crust. If not, a pizza pan (or cookie sheet) will still turn out a great pizza.
- You can either start the pizza on a pan (or cookie sheet) and transfer it to the stone after about 10 minutes (when the crust is firm enough to be safely transferred). At this point, turn off the oven and let the pizza cook on the stone for another 5 minutes. Remove and let rest on a cutting board for another 5 minutes before cutting and serving.
- Alternatively, you can start by launching the pizza directly to the pizza stone in your oven. This is more tricky and you might want to practice with some dough with no toppings!
Nutrition

Todd’s cooking skills have revolved around the grill since about age 12, when he developed a love for grilling and took over for Mom at the BBQ. He worked at Wendy’s and at Earl’s Tin Palace (a restaurant chain in Canada) but never really did any sort of baking…until he and Heather started making pizza together! Now he’s often making dough in the mornings and pizza in the evenings.